Build a CTF lab on Hyper-V and you get the cheapest way I know to practice offensive security legally, on hardware you already paid for. Nothing to rent, nobody's cloud to ask permission from. We stand up a full range on Hyper-V, the free Type-1 hypervisor that has been sitting on your Windows 10 or 11 Pro box this whole time. By the end you have a little network of isolated VMs: a Kali Linux attacker, a pfSense router, then Metasploitable3 and a deliberately broken Windows 10 to shoot at, with a DVWA web app parked on a switch that cannot reach a thing. About 80 GB of disk. One evening, assuming the downloads behave.
The short answer
Stand up a CTF range on Hyper-V in one pass: enable the role with one PowerShell
line, build three virtual switches (External bridged, Internal routed,
Private isolated), drop a Kali attacker on Internal, attach Metasploitable3 and
a deliberately broken Windows 10, park DVWA on Private, then put pfSense in the
middle for routing and egress control. The whole thing is scriptable, and you land
your first exploit the same night.
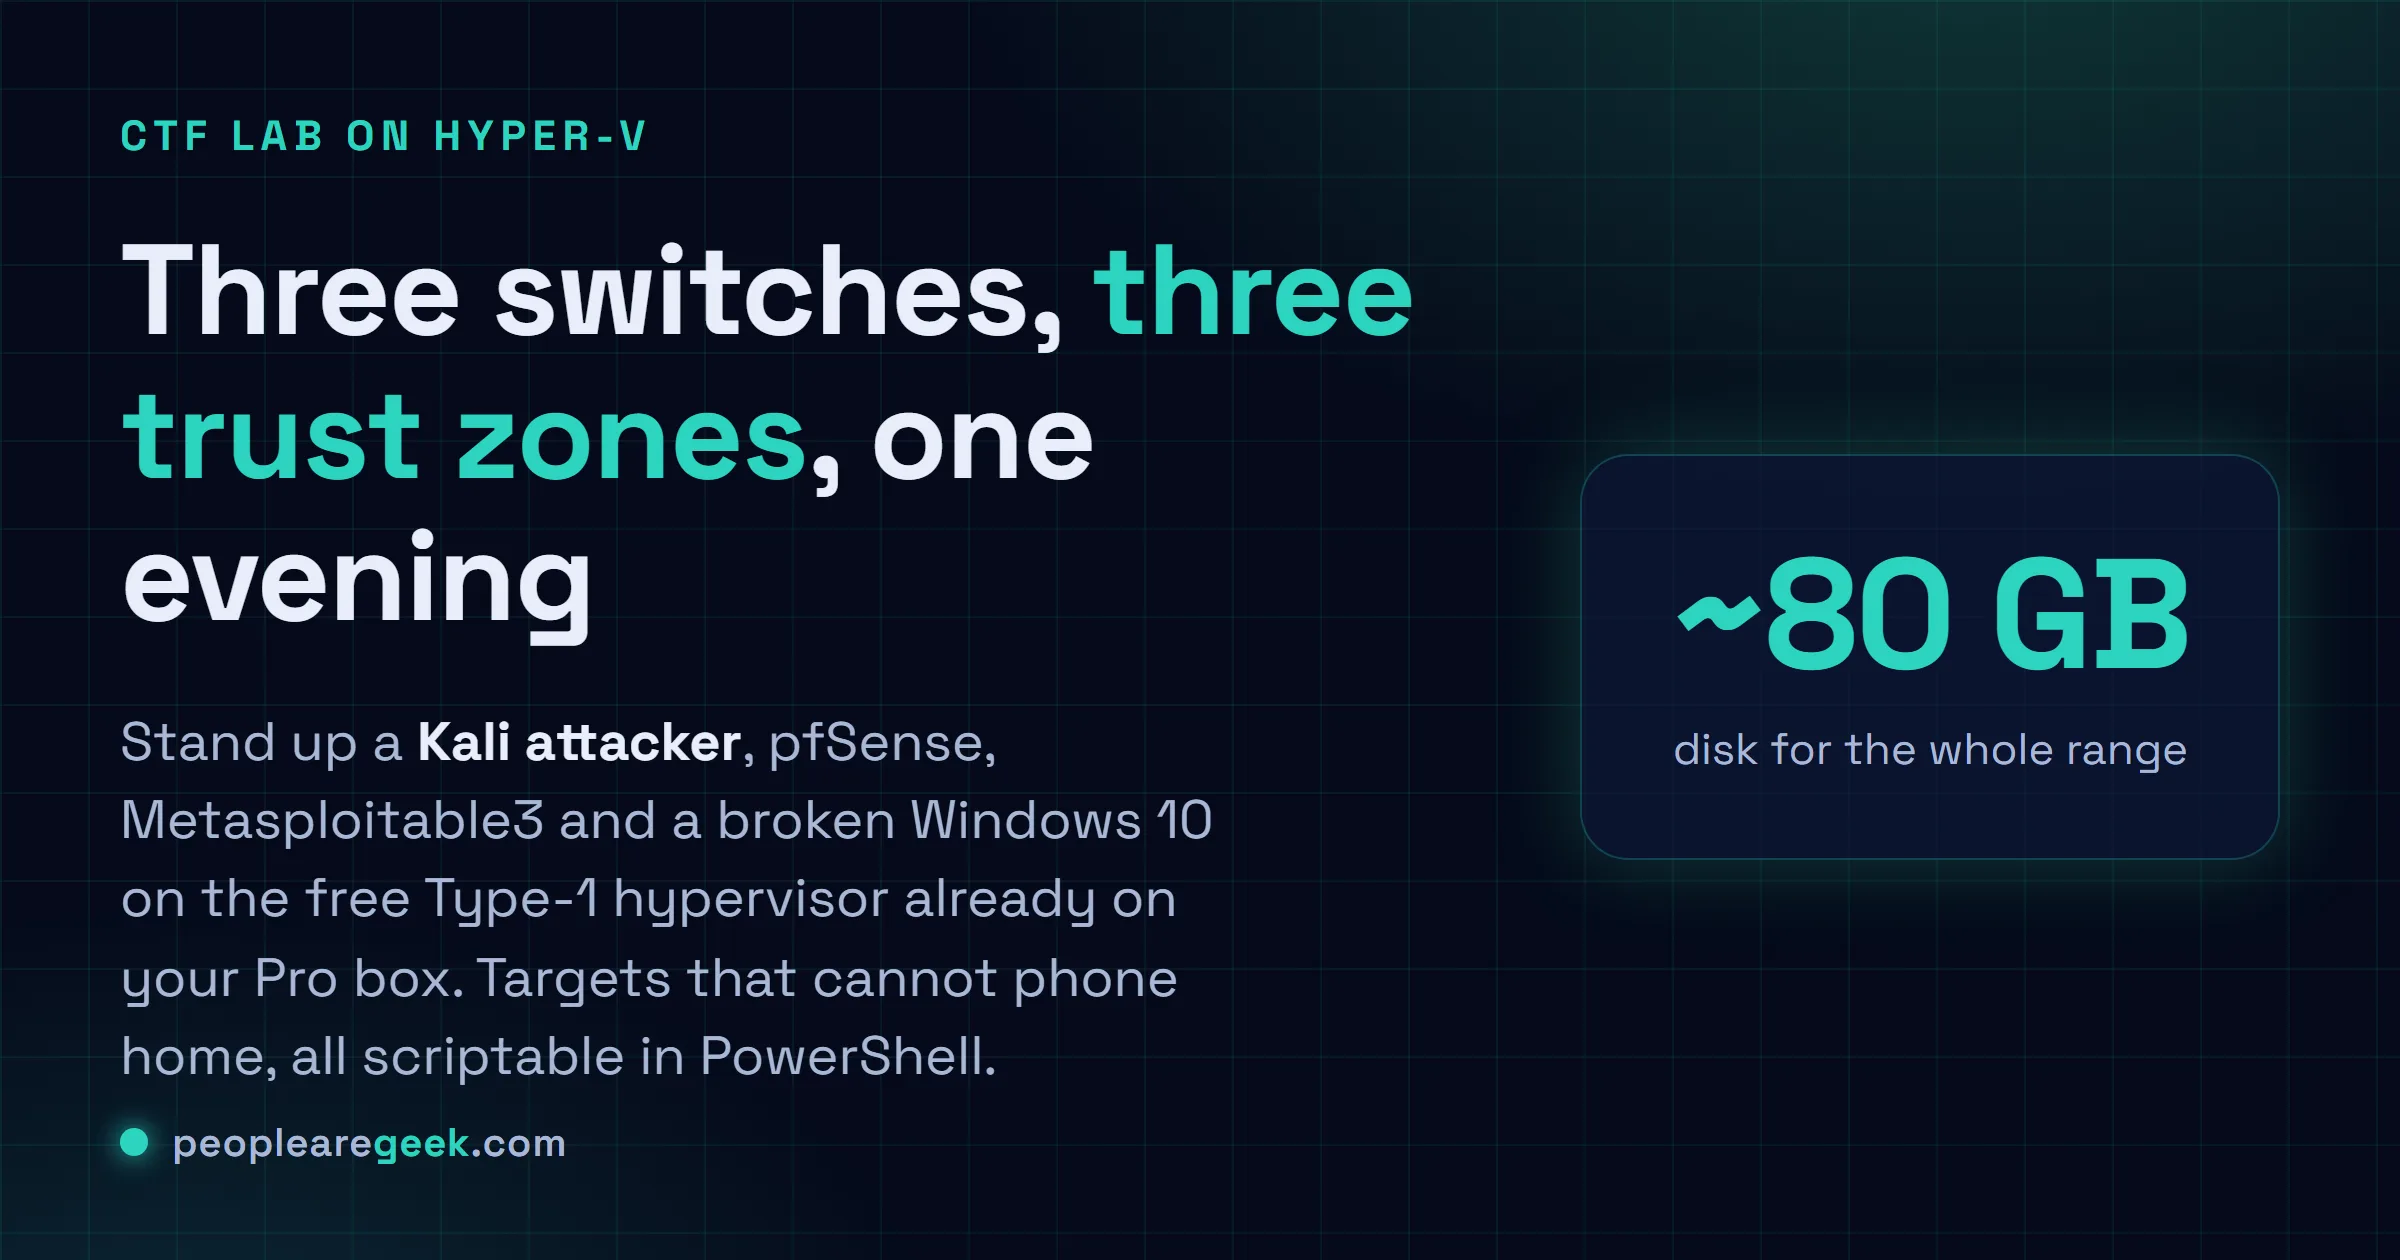
Three laptops. That's how many times I've built this exact lab, and it's still the cheapest way I know to practice offensive security legally on hardware you already paid for. Nothing to rent. Nobody's cloud to ask permission from. We'll stand up a full CTF range on Hyper-V, the free Type-1 hypervisor that's been sitting on your Windows 10 or 11 Pro / Education / Enterprise box this whole time, whether you ever noticed it or not. By the end you've got a little network of isolated VMs: a Kali Linux attacker, a pfSense router, then Metasploitable3 and a deliberately broken Windows 10 to shoot at, with a DVWA web app parked on a switch that can't reach a thing. About 80 GB of disk. One evening, assuming the downloads behave, which honestly they sometimes don't.
Three switches, three trust zones. That's basically the whole trick. External is your bridged line out for updates. Internal is the routed playground where Kali actually gets to meet the targets. And Private is the locked room: no host, no Internet, the place I park anything I wouldn't want phoning home, like a Hack The Box retired machine.
Why a CTF lab on Hyper-V (and not VirtualBox)
VirtualBox is friendlier on day one. Hyper-V is friendlier on day thirty. And you're going to live in this lab for months, not days, so that's the trade I keep making. My actual reasoning, for what it's worth. It runs as a Type-1 hypervisor right above the Windows hypervisor layer, so the VMs wake up from hibernation in much better shape and CPU passthrough just works without you fighting it. The Virtual Switch Manager hands you real External / Internal / Private network types straight out of the box, which is the exact separation you need to stop an owned target from beaconing out to the open Internet. And, look, you already own it. Two checkboxes on any Pro / Education / Enterprise SKU and you're done. No licence to hunt down. No trial clock counting against you.
Two things have bitten me here, so let me spare you the same afternoon. If you also run VMware Workstation 16 or older, you can't keep both alive at once. Hyper-V grabs the hardware and that's the end of the negotiation. The other one: nested virtualisation, which you'll want for a few HTB boxes, needs an Intel VT-x or AMD-V CPU with VBS support. Check that first. Building half a lab and then discovering your CPU can't do it is a special kind of annoying.
Prerequisites and hardware sizing
The short list I run through before I start clicking:
- Windows 10 / 11 Pro, Education, or Enterprise. Home doesn't ship the Hyper-V role. Full stop, no workaround worth your time. Bumping Home up to Pro runs about 99 EUR if you're stuck on it.
- 16 GB RAM minimum, 32 GB if you can swing it. With Kali, pfSense, Metasploitable3, plus the Windows 10 target and DVWA all awake together, I've watched committed memory peak around 11 GB. 16 works. 32 means you stop babysitting the thing.
- An SSD with at least 120 GB free. Differencing disks look clever right up until your snapshots turn into spaghetti. Give every VM its own dynamic VHDX and you'll sleep better.
- A CPU with hardware virtualisation switched on in the BIOS (Intel VT-x + EPT, or AMD-V + RVI). One quick check tells you where you stand:
systeminfo | findstr /i "hyper".
Step 1: Enable Hyper-V the right way
Open PowerShell as administrator and run the one-liner below. I skip the Optional Features dialog every single time. It's faster, and it actually reports back what it changed instead of leaving you to guess.
Enable-WindowsOptionalFeature -Online -FeatureName Microsoft-Hyper-V -AllReboot when it asks. Once you're back in, confirm the role actually came up and the management console can see the host. Two quick checks settle it:
PS> Get-WindowsFeature -Name Hyper-V
Display Name   Name      Install State
[X] Hyper-V    Hyper-V   Installed

PS> Get-VMHost | Select VirtualHardDiskPath, VirtualMachinePath
VirtualHardDiskPath              VirtualMachinePath
-----------------------          -----------------------
C:\Hyper-V\Virtual Hard Disks    C:\Hyper-V
Got a second drive? Move those two paths off C: right now, before there's anything to lose. The day you nuke and reinstall Windows, your whole lab just stays put, and past-you looks like a genius. Set-VMHost -VirtualHardDiskPath 'D:\HyperV\VHDs' -VirtualMachinePath 'D:\HyperV\VMs'.
Step 2: Create the three virtual switches
If you skim one section, please don't let it be this one. Every trust boundary you actually care about lives or dies right here in the switch config: attacker reaching target, lab reaching your home network, anything reaching the open Internet. Get it wrong and you haven't built a lab. You've built a vulnerable box with a clear path to the world, which is the opposite of the goal. Open Hyper-V Manager, then Virtual Switch Manager, and build three switches to match the topology above.
# Pure PowerShell equivalent (preferred for reproducibility)
New-VMSwitch -Name 'External-vSwitch' -NetAdapterName 'Ethernet' -AllowManagementOS $true
New-VMSwitch -Name 'Internal-vSwitch' -SwitchType Internal
New-VMSwitch -Name 'Private-vSwitch' -SwitchType Private

# Pin a host-side IP on the internal switch so the host can reach pfSense's web UI
New-NetIPAddress -InterfaceAlias 'vEthernet (Internal-vSwitch)' -IPAddress 10.10.10.5 -PrefixLength 24
So what's each one actually for? External bridges your physical NIC, and that's how Kali pulls its updates and Metasploit databases. Internal wires the host to the VMs but never once touches your home network. pfSense will NAT this subnet out through External later on. Private is the airlock. Nothing inside it ever reaches the host or the Internet, period. Whatever you don't fully trust goes in there and stays put.
Step 3: Build the Kali attacker VM
Grab the official Kali Hyper-V VHDX from kali.org/get-kali/#kali-virtual-machines. The pre-built image hands you a working box and saves you a solid hour of clicking through an installer for no reason. Make the VM Generation 2 (UEFI, and the secure boot toggle sits right there when you need it), 4 GB RAM, two vCPUs. For now, hang it off Internal-vSwitch and nothing else.
New-VM -Name 'kali-ctf' -MemoryStartupBytes 4GB -Generation 2 `
       -VHDPath 'D:\HyperV\VHDs\kali-linux-2026.2-hyperv-amd64.vhdx' `
       -SwitchName 'Internal-vSwitch'
Set-VM    -Name 'kali-ctf' -ProcessorCount 2 -DynamicMemory `
          -MemoryMinimumBytes 2GB -MemoryMaximumBytes 6GB
Set-VMFirmware -VMName 'kali-ctf' -EnableSecureBoot Off
Start-VM  -Name 'kali-ctf'
Pop into the Hyper-V console once to sort the keyboard layout and pin a static IP of 10.10.10.10/24 with gateway 10.10.10.1. That gateway is pfSense, which isn't running yet. Don't panic, that's expected for now. Then, before you so much as apt install a single thing, take a checkpoint. That untouched snapshot is your clean baseline, and you'll reach for it way more than you'd guess up front.

Step 4: Add the vulnerable targets
This is the starter pack I keep coming back to, build after build:
- Metasploitable3 (Ubuntu 14.04 plus Windows Server 2008, broken on purpose in roughly a dozen ways). Build the Vagrant box once on the host, export the Hyper-V VHDX, then attach it to a Generation 1 VM on Internal-vSwitch at
10.10.10.20. - A vulnerable Windows 10 build. Install it once, kill Defender, leave SMBv1 turned on, and hand the local Administrator a password a five-year-old would crack. Generation 2, 3 GB RAM, Internal-vSwitch at
10.10.10.21. Snapshot it the second it's clean, then again after every tooling change, because you'll be reverting this one constantly. Trust me on that. - DVWA and bWAPP for web stuff. The lazy-but-correct route is the OWASP Broken Web Apps VHD, hung off Private-vSwitch at
192.168.99.30. These never touch the host, which is exactly how I want them. - One Hack The Box retired box. Import the OVA with
Convert-VHDand drop it on Private-vSwitch at192.168.99.31.
Never hang a vulnerable VM off the External switch. A Metasploitable3 box with a route to the open Internet stops being a lab. It's now an intentionally broken machine sitting on your WAN, and it's the first thing any bored attacker on the hotel Wi-Fi will find the next time you travel. I've watched one of these get popped in under ten minutes. Keep them caged.
Step 5: Plug pfSense in for routing and egress control
Sure, you can skip pfSense. But then you've tossed out the most realistic piece of the whole thing: an actual firewall sitting between you and the targets, doing exactly what firewalls do in the real world. Grab the pfSense Community Edition ISO, spin up a Generation 1 VM with two adapters (one on External, one on Internal), boot the ISO, install. When the first-boot console wizard pops up:
- Point WAN at the External adapter and LAN at the Internal one. Get this backwards and nothing routes at all, so double-check the MACs if you're even slightly unsure.
- Give LAN the IP
10.10.10.1/24and flip on the DHCP server right there in the same step (range10.10.10.50-10.10.10.99). - Reboot, then hit the web UI from Kali at
https://10.10.10.1with the defaultadmin / pfsenselogin. Change that password first, before you touch anything else.
Two rules earn their keep from day one. First, block everything from 10.10.10.0/24 heading toward the RFC1918 ranges 192.168.0.0/16 and 172.16.0.0/12. That's the wall between your lab and your home LAN, and it's not optional. Then allow outbound TCP 80 / 443, but only from 10.10.10.10, your Kali box. With those two live, Metasploitable3 can't phone home no matter how thoroughly you own it. Kali, meanwhile, can still reach out to pull an Empire payload the moment you actually need one.
Step 6: First exploit run
From Kali, throw nmap at the Linux target. If you wired the switches up right, SSH and HTTP and SMB all light up right away. And seeing that first wall of open ports? Honestly, that's the moment the lab stops being a tutorial and starts feeling real.
┌──(kali㉿kali)-[~]
└─$ nmap -sS -T4 -p- 10.10.10.20
PORT     STATE SERVICE       VERSION
22/tcp   open  ssh           OpenSSH 6.6.1p1
80/tcp   open  http          Apache 2.4.7
445/tcp  open  microsoft-ds  Samba 4.3.11
3306/tcp open  mysql         MySQL 5.5.46
8080/tcp open  http-proxy    Jetty 9.4.x
Now point Metasploit at the SMB share. Metasploitable3 ships with a vagrant / vagrant account that's about as guessable as a password gets, so this one lands fast:
msf6 > use auxiliary/scanner/smb/smb_login
msf6 > set RHOSTS 10.10.10.20
msf6 > set SMBUser vagrant
msf6 > set SMBPass vagrant
msf6 > run
Creds check out? Good. Now checkpoint every target you just touched. This might be the most ignored habit in all of CTF practice, or at least the one that's burned me the most, and I still forget it half the time. Land an exploit, snapshot it. Then the next run starts from the exact same baseline instead of some half-broken state you can't reproduce later when you're trying to figure out what actually worked.
Common pitfalls
- VBS / Memory Integrity blocks Hyper-V on Windows 11. If a VM flat refuses to start and throws "operating system cannot find a hardware resource", this is almost always the culprit. Turn off Memory Integrity under Core Isolation and it'll boot.
- The External switch ate my Wi-Fi. Bridge an External vSwitch onto a Wi-Fi adapter and Hyper-V more or less commandeers the NIC. I lost an entire afternoon to this before the penny finally dropped. If you live on Wi-Fi, bind External to Ethernet only and tether over USB when you need the lab online.
- Snapshots are not backups. Checkpoints stack on top of the original VHDX, and they grow. Let twenty of them pile up and one morning you'll find a 200 GB monster quietly eating your SSD. Merge or prune the tree every couple of weeks. Don't let it run away from you.
- Generation 1 vs Generation 2 mix-ups. Gen 2 wants a UEFI-bootable image, no exceptions, no debate. If a target just black-screens forever at boot, quit fighting it and rebuild it as Generation 1.
- Clocks drift after the host sleeps. The host itself suspends and resumes just fine, but pfSense and Metasploit will quietly wander off the correct time. Drop
chronyon the Linux targets and stickw32tm /resyncin a startup script on the Windows boxes. Do that and you'll stop chasing weird cert and auth errors that have nothing to do with your exploit.
Sources and further reading
Frequently asked questions
Can I run this lab without Pro / Education / Enterprise Windows?
Not out of the box. Home just doesn't ship Hyper-V, and no registry hack changes that in any way you'd want to rely on. You've basically got three escape routes: upgrade to Pro for about 99 EUR, install the free Hyper-V Server 2019 and run the lab headless, or just give up and use VirtualBox instead. If Windows is your daily driver, honestly I'd pay for Pro and not think about it again.
Is Hyper-V better than VMware Workstation for a CTF lab?
For a free lab you can rebuild from a script on a Windows host, yeah, I'd reach for Hyper-V. It's already sitting there, it talks to PowerShell so the entire lab can live in one file you just re-run, and it handles nested virtualisation. Where VMware pulls ahead is USB passthrough and nicer Linux guest tools. So if you're already paying for a Workstation Pro licence and your targets need real USB devices plugged in, stick with VMware. Otherwise the built-in option is genuinely hard to argue against.
How much RAM should I budget?
16 GB is the floor. With the core stack awake (Kali, pfSense, Metasploitable3, DVWA) I see roughly 9 GB committed, so 16 leaves you a sliver of breathing room and not much more than that. Bump it to 32 GB and you can have a Windows 10 target and a Hack The Box machine running together, which is what real OSCP-style practice actually looks like in my experience. Turn on Dynamic Memory in each VM while you're at it. It claws back a surprising amount.
Can I expose the lab to the Internet for friends to attack?
You can, with a pfSense port-forward. Please don't. A box you deliberately built to be vulnerable, sitting on the open Internet, is just a breach with a countdown timer ticking on it, and most ISP terms of service flatly ban hosting intentionally broken services anyway. If you want a friend shooting at the same targets, drop ZeroTier or Tailscale on the Internal switch and pull them in over a private overlay. Same fun, and you never have to explain anything to your ISP.
Do I need pfSense at all?
No, you don't strictly need it. Flat-route everything through the Internal vSwitch, lean on the host firewall to keep lab traffic off your LAN, and you've got a working range. But pfSense only costs you about 30 minutes, and in exchange you get a real firewall to practice writing rules against, plus logs that drop straight into a SIEM, which really starts to matter the day you bolt this onto a Wazuh and Suricata SOC homelab. For half an hour of effort, I always add it.