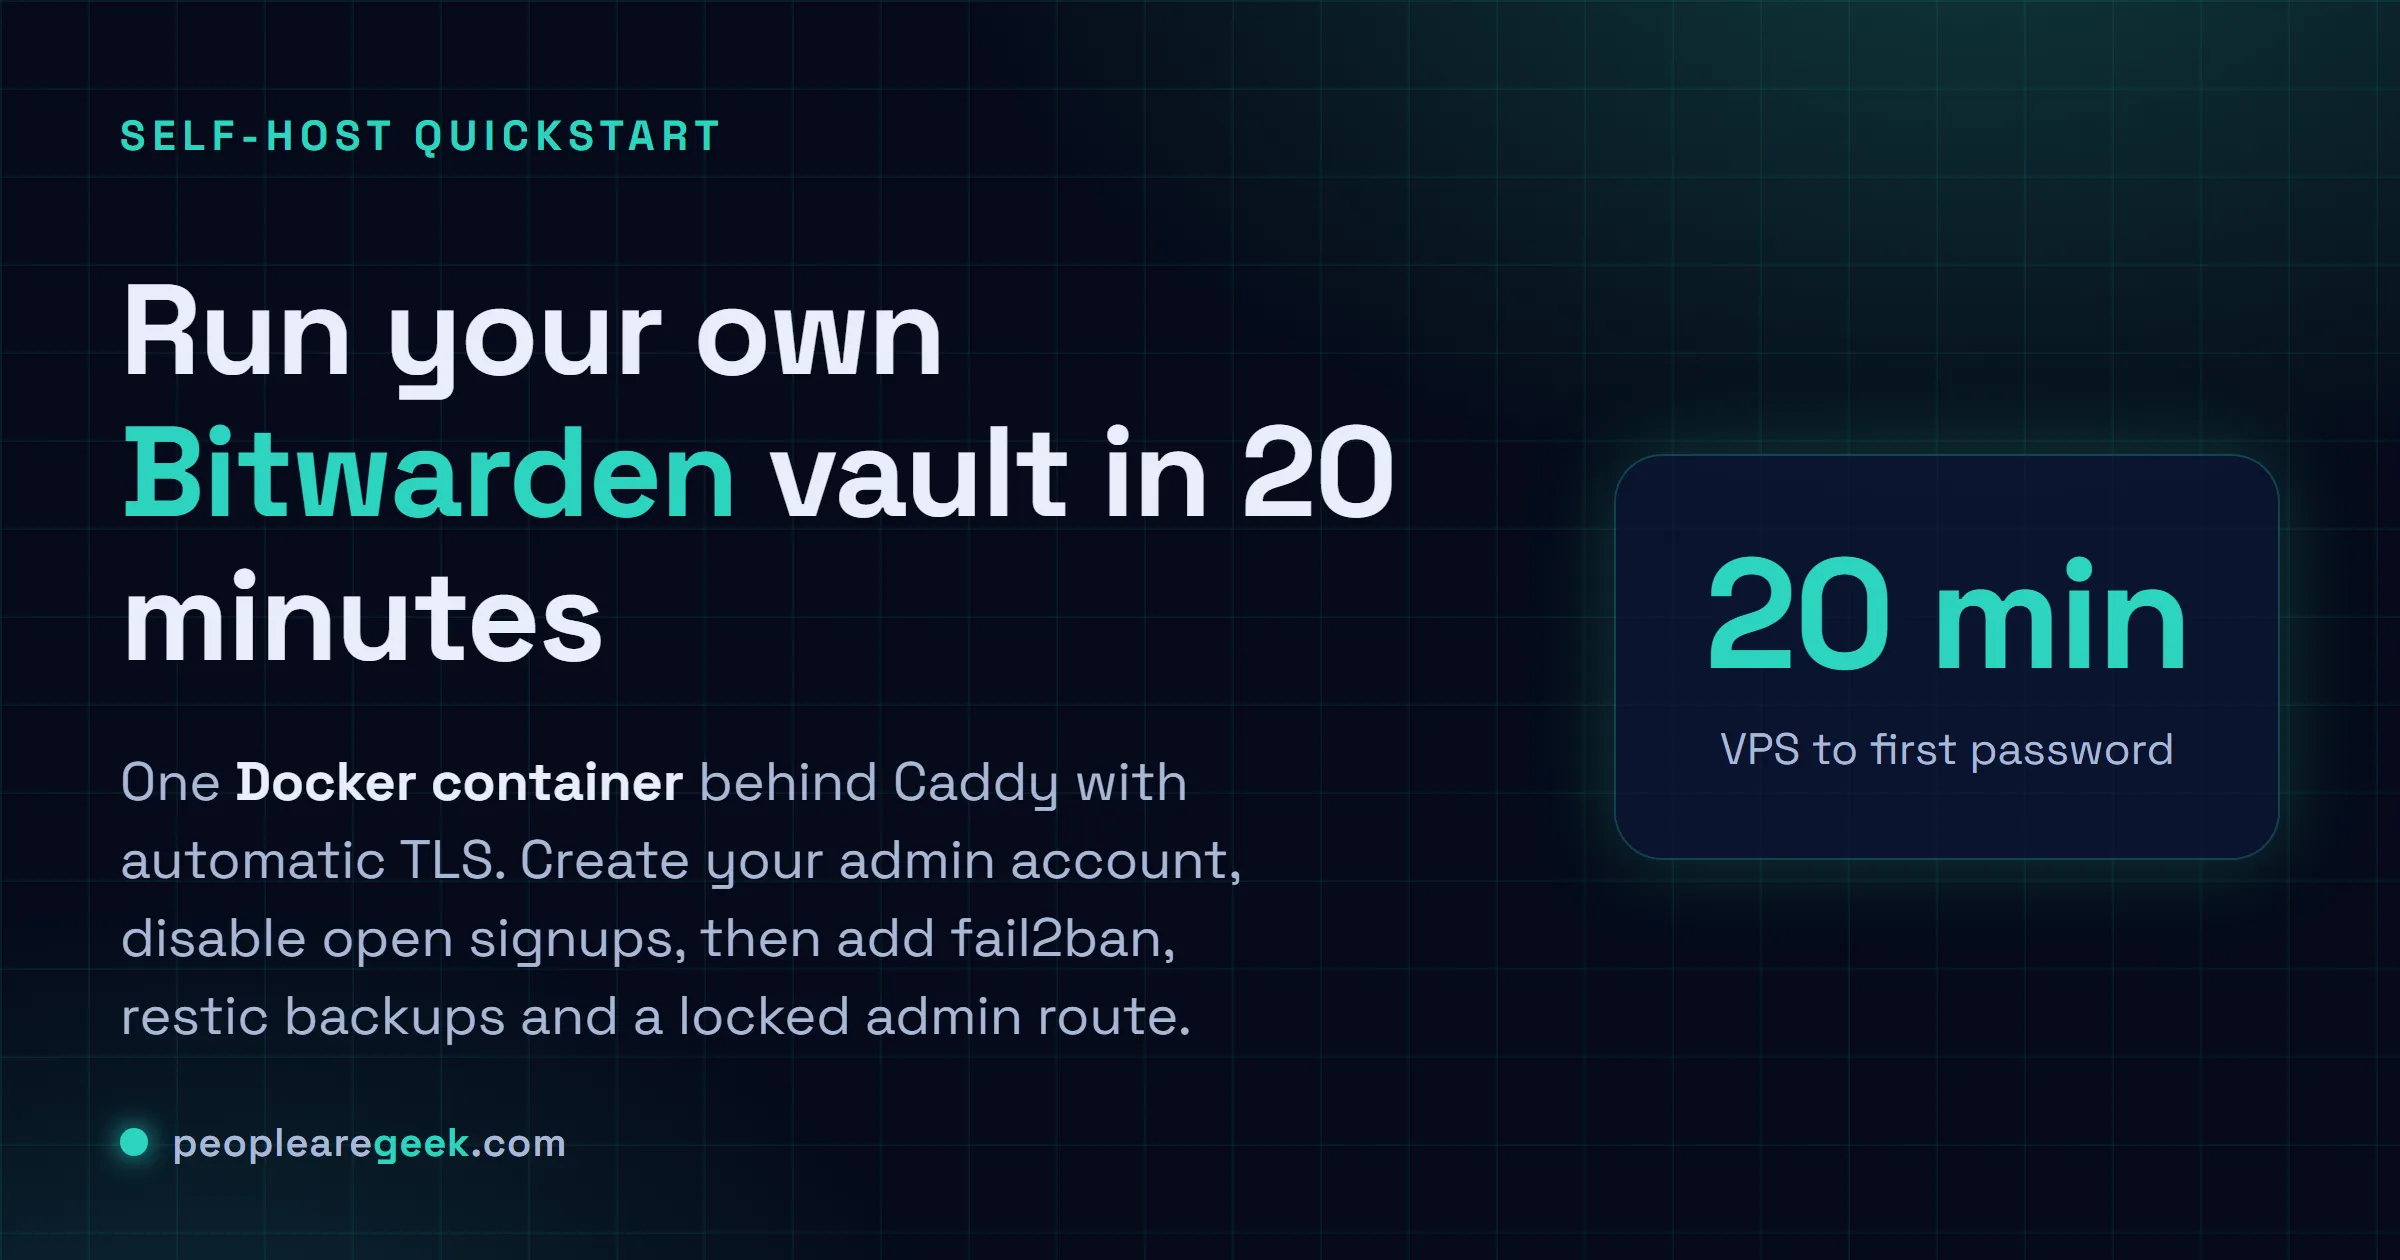
This Vaultwarden self-host guide is the timed walkthrough I wish someone had handed me: fresh VPS to your first saved password in under 20 minutes. Vaultwarden is a tiny Rust reimplementation of the Bitwarden server, the whole thing fits in one Docker container, and it speaks the exact same wire protocol as the real Bitwarden server, so every official client just works against it. The browser extension, the phone apps, desktop, all of them, with no patched build and no sketchy fork. Then comes the boring discipline you owe yourself before bed. Backups. fail2ban. Locking down that admin route so it does not bite you in six months.
The short answer
Run your own Bitwarden-compatible vault with one docker compose stack:
the Vaultwarden server plus Caddy fetching a Let's Encrypt cert on its own.
Create your admin account through the public signup, then set
SIGNUPS_ALLOWED: "false" before the bots find it. The day after, add the
boring discipline that keeps it safe: fail2ban, a nightly restic backup, and a
locked-down /admin route.
I've run my own passwords on Vaultwarden for years. Going back to a hosted vault would feel weird at this point. It's a tiny Rust reimplementation of the Bitwarden server, the whole thing fits in one Docker container, and here's the clever bit: it speaks the exact same wire protocol as the real Bitwarden server. So every official client just works against it. The browser extension, the phone apps, desktop, all of them, with no patched build and no sketchy fork. Mine sits at maybe 50 MB on disk and a couple hundred MB of RAM, and the SQLite database is perfectly happy on a Raspberry Pi or a cheap Hetzner ARM box. I've run it on both. Anyway, this is the timed walkthrough I wish someone had handed me: fresh VPS to your first saved password in under 20 minutes. Then the boring discipline you owe yourself before bed. Backups. fail2ban. Locking down that admin route so it doesn't bite you in six months.
Why Vaultwarden over Bitwarden Cloud
A few reasons, honestly, and they're not all equally good. Cost is the obvious one. Every feature Bitwarden parks behind a paywall (organisations, TOTP, emergency access, attachments) you just get, for the price of whatever VPS this runs on. Then there's sovereignty, which matters more to me than I expected it to. My encrypted vault never leaves my own box, so even someone sitting on all my Cloudflare logs sees nothing but TLS to my domain. And velocity: Vaultwarden tends to ship features before the official server bothers. Argon2id was there out of the box, the FIDO2 WebAuthn support landed early, push notifications relay through Bitwarden's own service. I won't pretend this is free, though. You're now the one on the hook for updates and backups and TLS, and it's a volunteer project, so when something breaks at midnight nobody's picking up the phone. That's the trade. I made it years ago and haven't looked back, but go in knowing what you're signing up for.
Prerequisites, what you need before you start the clock
- A VPS. Grab the cheapest tier going on Hetzner Cloud, OVH, whatever. 1 vCPU with 1 GB of RAM and a 20 GB disk is way more than you'll need. Mine idles around 80 MB.
- A domain name with an A record pointing at the VPS. No skipping HTTPS here. Modern Bitwarden clients flat-out refuse plain HTTP, and there's no fallback to argue your way around.
- SSH access with a key, not a password. Still logging in with a password? Fix that first, then come back.
- 10 minutes of patience while that A record actually propagates. Jump the gun and Caddy will try to grab a Let's Encrypt cert against a half-propagated record, then fall over. I've watched it happen more than once.
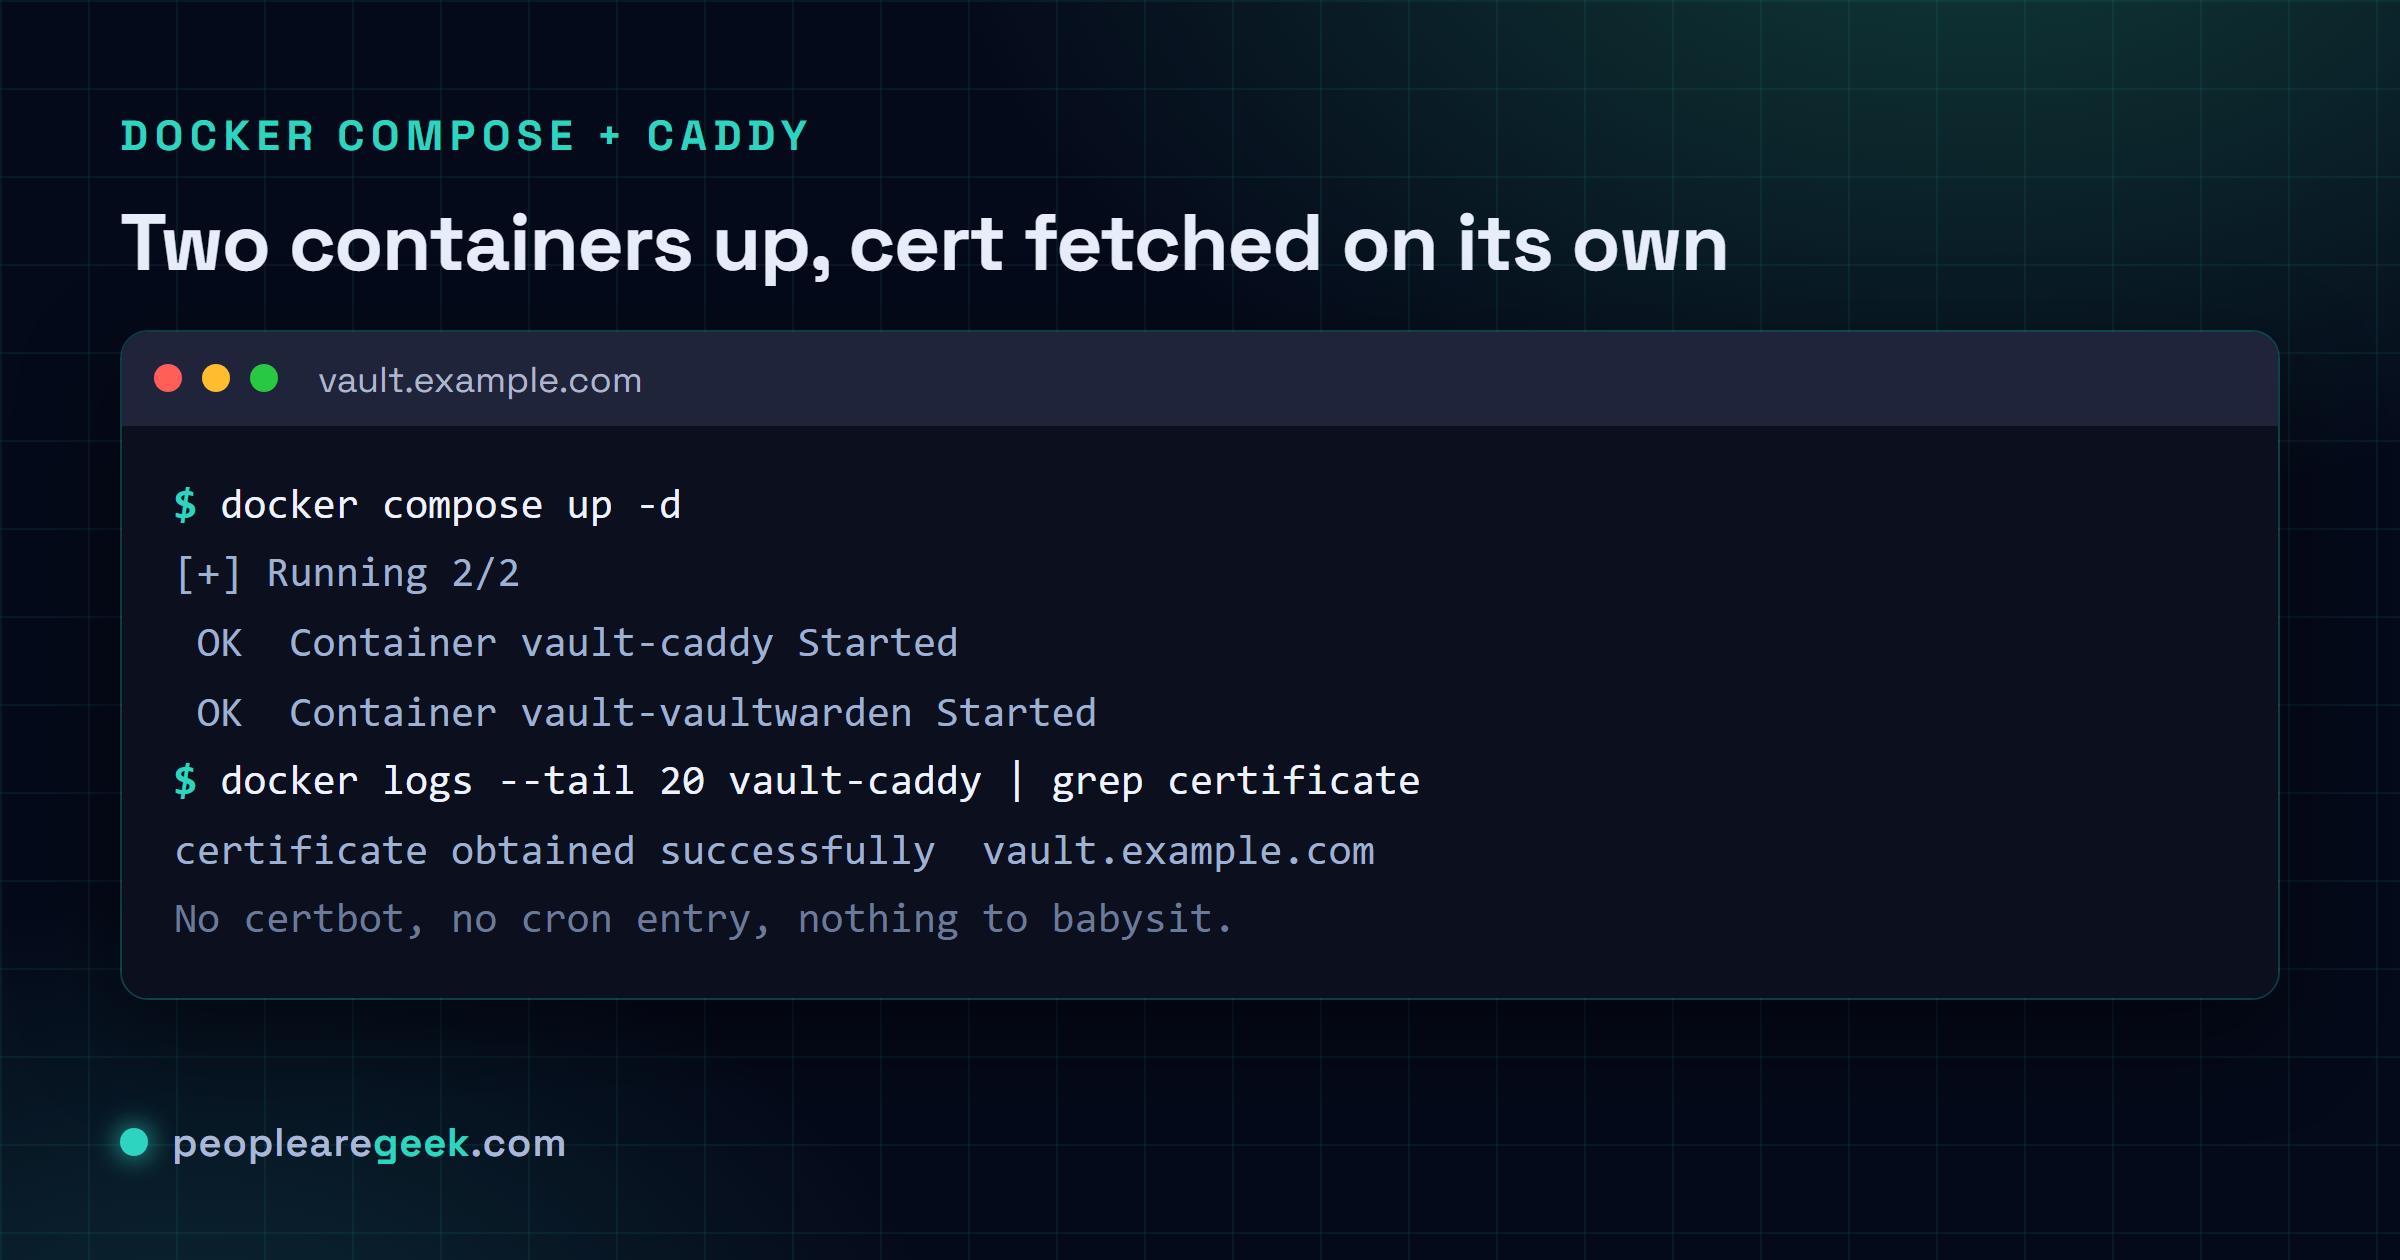
The 20-minute install (docker compose + Caddy)
Drop both files in the same folder and you're basically there. Two containers on one shared network, and that's the whole stack. One thing before you paste, though. That ADMIN_TOKEN has to be a genuinely long random string, not a placeholder. Generate it with openssl rand -base64 48. Whatever you do, don't type "admin123" and promise yourself you'll swap it out later. You won't.
# docker-compose.yml
services:
  vaultwarden:
    image: vaultwarden/server:latest
    restart: unless-stopped
    environment:
      DOMAIN: "https://vault.example.com"
      SIGNUPS_ALLOWED: "true"           # disable after first signup
      ADMIN_TOKEN: "<long-random-string>"
      WEBSOCKET_ENABLED: "true"
      LOG_FILE: "/data/vaultwarden.log"
    volumes:
      - ./data/vaultwarden:/data

  caddy:
    image: caddy:2-alpine
    restart: unless-stopped
    ports:
      - "80:80"
      - "443:443"
    volumes:
      - ./Caddyfile:/etc/caddy/Caddyfile:ro
      - ./data/caddy:/data
      - ./data/caddy_config:/config
# Caddyfile
vault.example.com {
encode gzip
reverse_proxy vaultwarden:80
header {
Strict-Transport-Security "max-age=31536000;"
X-Frame-Options "DENY"
X-Content-Type-Options "nosniff"
Referrer-Policy "no-referrer"
}
}Now bring it up.
$ docker compose up -d
[+] Running 2/2
 ✔ Container vault-caddy Started
 ✔ Container vault-vaultwarden Started

$ docker logs --tail 20 vault-caddy | grep certificate
{"level":"info","msg":"certificate obtained successfully","identifier":"vault.example.com"}
See that line? Caddy went off and fetched the cert from Let's Encrypt entirely on its own. No certbot, no cron entry, nothing for you to babysit. That's the whole reason I reach for it before anything else. Open https://vault.example.com now and you should land smack on the Bitwarden Web Vault login screen. Get a TLS warning instead? Nine times out of ten your DNS just wasn't done propagating. Give it a few minutes, restart Caddy, try again.
First admin sign-in and disable open signups
Order matters here, and getting it backwards is a classic. Make your own account through the public signup first. Then slam the door behind you. Do it the other way round and you'll lock yourself clean out of your own server, which is a special kind of annoying.
- Hit Create account and put in your email plus a master password of at least 14 characters. Vaultwarden makes new accounts do this in 2026 anyway. And look, this is the one password you can never reset, so make it count.
- Sign in, then prove the vault actually works by stashing a throwaway login. Far better to find that out now than halfway through your migration.
- SSH back in, set
SIGNUPS_ALLOWED: "false"indocker-compose.yml, and rundocker compose up -dto restart. - Head to
https://vault.example.com/adminand paste theADMIN_TOKENfrom your compose file. That's your dashboard from here on. Invites, user management, all of it.
Leave SIGNUPS_ALLOWED=true sitting there and it's only a matter of time. Bots scan for fresh Vaultwarden instances around the clock, and the second one stumbles onto an open signup it'll register an account and start parking data (sometimes much nastier stuff) inside your server. Flip it off the moment your own account exists. We're talking minutes here, not hours.
Pointing the Bitwarden clients at your server
People overthink this part. Every official Bitwarden client lets you point it at a custom server. The setting just hides behind the login screen, which is why nobody finds it. Tap the gear, pick Self-hosted, type https://vault.example.com into the Server URL field, done. The phone apps and the extension pick it up straight away. One catch: do this before you sign in, never after.
- Browser extension (Chrome, Firefox, Edge, Safari): Settings, Logged out, gear icon, Server URL.
- iOS / Android: Tap Region on the login screen, then Self-hosted. This one trips everybody up, because it's filed under Region, not Server. No idea why they did that.
- Desktop (Win/macOS/Linux): Settings, Server URL.
- CLI (
bw):bw config server https://vault.example.comthenbw login.
bw config server https://vault.example.com Day-2 hardening: fail2ban, backups, admin-route
Container's up, clients connect, and you're still not done. This next bit is what separates "it works" from "I'd trust it with my entire digital life." Do it tonight. Not someday, not next weekend, tonight, while you're still in the headspace.
- fail2ban: Vaultwarden logs every failed login to
/data/vaultwarden.log. Point fail2ban at it with the official Vaultwarden filter (three strikes, then a one-hour ban) and the endless drive-by brute-force noise simply stops showing up in your logs. Ten minutes of setup. Saves you hours of squinting at auth lines later. - Restic to off-site: a nightly snapshot of the
./data/vaultwardenmount up to Backblaze B2 or a Hetzner storage box, encrypted with a 32-byte passphrase. Here's the bit people get catastrophically wrong, so read it twice. That passphrase can't live in the vault you're backing up. If this box dies, you'd be locked out of the one thing holding the key to everything else. Write it down somewhere offline. The bucket itself costs basically nothing. 60 GB on B2 runs me about 0.30 EUR a month. - Lock the admin route: the admin token on its own won't save you. Add a
basic_authchallenge on/adminin the Caddyfile. Better still, fence it to your home IP with@admin path /admin*andrespond @admin 403for everyone else. Nobody can reach/adminin the first place? Then nobody's sitting there brute-forcing that token.
Org accounts and family sharing
This is where self-hosting quietly pays for itself. The dashboard hands you unlimited Organisations, the exact thing Bitwarden charges you per-seat for, each one with its own collections, roles (Owner, Admin, Manager, User) and emergency-access policy. Here's how I wired it up for a family of four:
- Admin, Users, create a user for each person, then fire off the invite link.
- Everyone accepts, and each of them lands their own personal vault on the same server.
- Spin up an org called "Family," invite the other three, and share a single collection of household stuff. The router login, the Netflix account, the electricity bill, whatever everyone genuinely needs.
- The genuinely nice part? Personal vaults stay totally private to each person. Only that one shared collection shows up for everyone, so nobody's quietly snooping through anyone else's logins.
Sources and further reading
Frequently asked questions
Is Vaultwarden as secure as Bitwarden Cloud?
The crypto's identical. Vaultwarden honours Bitwarden's client-side argon2id and AES-256-GCM, so your vault gets encrypted before it ever touches the server, either way. What actually differs is who's on call when things go sideways. Bitwarden Cloud has a whole team handling patching and DDoS and infra isolation. On your box, that team is you, at 2am, in your pyjamas. So patch the OS weekly, keep half an eye on the upstream GitHub for advisories, and run fail2ban. Do all that and honestly I'd argue it's every bit as secure. Skip it and it isn't.
Can I migrate from Bitwarden Cloud to Vaultwarden?
Yep, and it's genuinely painless. Export your vault from the Bitwarden web client as encrypted JSON. Point a clean client at your Vaultwarden URL, log into the new empty account, import that JSON. Your items and folders and attachments all land intact, nothing dropped. Orgs migrate the same way, with one caveat: hold off until every member has accepted their new invite. Skip that and you'll spend the afternoon chasing shared collections that still point at the old place.
Will browser push notifications work?
They do, straight out of the box, which honestly surprised me the first time I saw it fire. Vaultwarden relays push through Bitwarden's own infrastructure, so your phone gets that "vault updated" nudge from your self-hosted server with zero extra setup on your end. Don't love leaning on Bitwarden's relay? Totally fair, it is one outside dependency you didn't ask for. Set PUSH_RELAY_BASE_URI to an empty string and it's gone. You just lose the live sync nudges in the trade, which for me wasn't worth it, but your call.
What about FIDO2 / passkeys?
Works fine. The web vault registers passkeys against your domain as a passwordless second factor, no drama. The one thing that'll bite you, and it will if you're not careful, is WEBAUTHN_ORIGIN. It has to match your real domain to the letter. Same scheme, same host, and no port tacked on the end. Get it even slightly off and the passkey just silently fails to register, with no useful error to point you anywhere. If Vaultwarden can't work the origin out on its own, set it as an env var in compose and move on with your day.
Can I run this on a Raspberry Pi?
Absolutely. There's an official ARM64 image, and a Pi 4 with 2 GB has plenty of headroom for this. One rule though, and I learned it the painful way: boot off a real SSD over USB or an NVMe HAT. Never a microSD card. SQLite's constant little writes will slowly chew through an SD card, and then one ordinary morning it just won't come back. Your passwords don't belong on flash rated for a few thousand writes. Full stop.